How to Install Peel-and-Stick Wall Molding – Easy DIY Guide for a Stunning Home Makeover
Share
🛠️ How to Install Peel-and-Stick Wall Molding – Step-by-Step DIY Guide
Transform your walls like a pro – without hiring one! 🏡
With Decophia’s peel-and-stick wall molding kits, you can easily add elegance, depth, and character to any room in under an hour. Let’s walk through this quick and clean installation process! ✨
✅ What You Need:
- 🧱 Decophia Wall Molding Kit
- 📏 Measuring Tape
- ✏️ Pencil
- 📐 Level
- 🧽 Clean Cloth
- 💪 Optional: Extra adhesive for added support
1️⃣ Clean the Wall Surface
Start by wiping your wall with a clean, damp cloth.
🧼 Make sure the surface is dry and dust-free.
📌 A smooth surface = stronger adhesive hold.
2️⃣ Measure & Mark
Use a measuring tape and pencil to mark your layout.
✔️ Use a level to ensure straight lines
✔️ Use painter’s tape if needed to visualize placement
3️⃣ Peel the Backing
Carefully peel off the adhesive strip from the back of the molding panel.
💡 Pro Tip: Peel a little first to align before pressing the full strip.
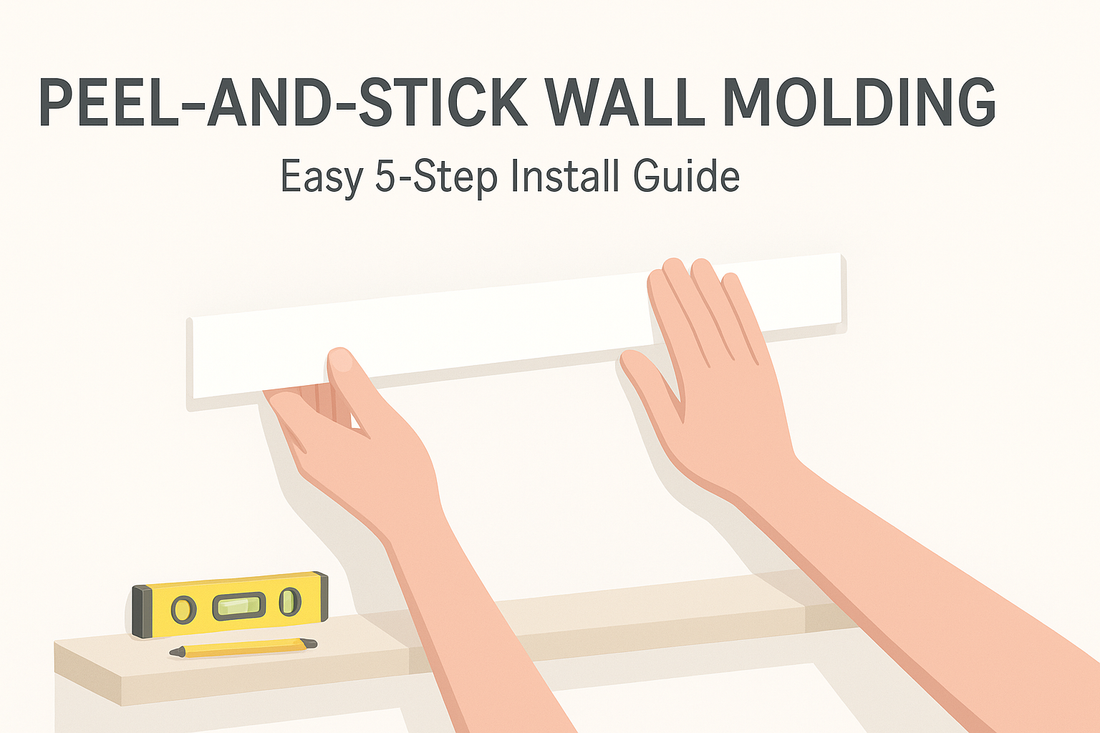
4️⃣ Stick and Press
Apply the molding to the marked area, pressing from one end to the other.
🧤 Press for 30–60 seconds using your hands or a soft cloth.
🔒 Optional: Use a roller for firm attachment.
5️⃣ Repeat & Adjust
Continue applying the remaining panels.
📐 Ensure consistent spacing between moldings.
✅ Double-check alignment for a professional finish.
🎨 Optional: Paint to Match
Our moldings come pre-primed white.
But if you want a custom color, go ahead and paint them!
🎨 Water-based or acrylic paints work best.
📸 Show Off Your Wall Makeover
Congratulations – your space just leveled up in style! 🥳
Want to be featured? Tag us: @decophia
📷 Use hashtag #Decophiawallmolding or #Peelandstickwallmouldingkit