How to Install Traditional Wall Molding – Step-by-Step Guide for a Timeless Look
Share
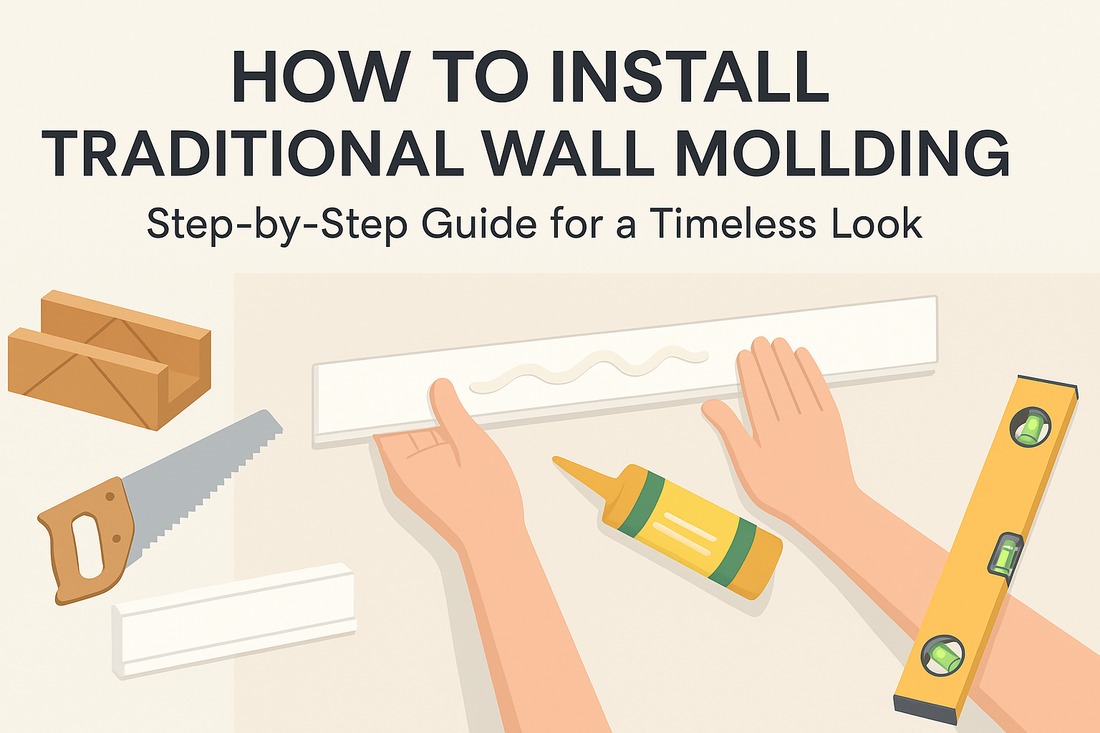
🔨 Traditional Wall Molding Installation – DIY Step-by-Step Guide
Looking to add elegance to your walls beyond peel-and-stick solutions? 🏡
Traditional wall molding, installed with adhesive or nails, offers a more durable and classic look.
This step-by-step guide walks you through a clean and professional installation from start to finish.
✅ What You’ll Need:
-
🪵 Polystyrene or polyurethane molding strips
-
📏 Measuring tape
-
✏️ Pencil
-
📐 Spirit level
-
🪚 Miter saw or miter box (for 45° corner cuts)
-
🧴 Strong construction adhesive or mastic
-
🔨 Nail gun or finishing nails (optional)
-
🧽 Clean cloth
1️⃣ Prepare the Wall
-
Ensure the surface is clean, dry, and flat.
-
Sand down bumps or remove old paint flakes if necessary.
-
Wipe the area with a damp cloth and let it dry fully.
2️⃣ Measure and Cut the Moldings
-
Use a measuring tape to mark the length of each molding.
-
For corners, make 45° angle cuts using a miter saw or box.
-
Dry-fit the pieces to ensure accuracy before applying adhesive.
3️⃣ Apply Adhesive
-
Apply adhesive to the back of the molding in an “S” pattern or in straight lines.
-
Press firmly against the wall along the marked lines.
-
Hold in place for several seconds to secure bonding.
4️⃣ Reinforce with Nails (Optional)
-
For extra hold, use a nail gun or small finishing nails to reinforce at key points.
-
This is especially useful around ceilings or baseboards.
5️⃣ Check Alignment & Clean
-
Ensure all moldings are level and evenly spaced.
-
Wipe off any excess adhesive with a clean damp cloth.
-
Fill small gaps with filler or caulk if needed.
6️⃣ Paint (Optional)
-
Once the adhesive has fully dried, moldings can be painted.
-
Use water-based or acrylic paints for best results.
-
Match your wall color or choose a contrasting shade for a bold statement.
🖼️ Enjoy Your New Wall Look
Congratulations! 🎉
You’ve successfully installed classic molding that adds depth and elegance to any room – from living rooms to hallways to bedrooms.